Sometimes the easiest of things can be the most annoying to figure out how to solve. The other day I had a logo that I needed to cut a shape out of another shape so that I could use it for screen printing. I thought this would be easy, but it took me about 20 minutes to figure it out. Follow the simple process below if you also need to do the same thing.

Two Layers
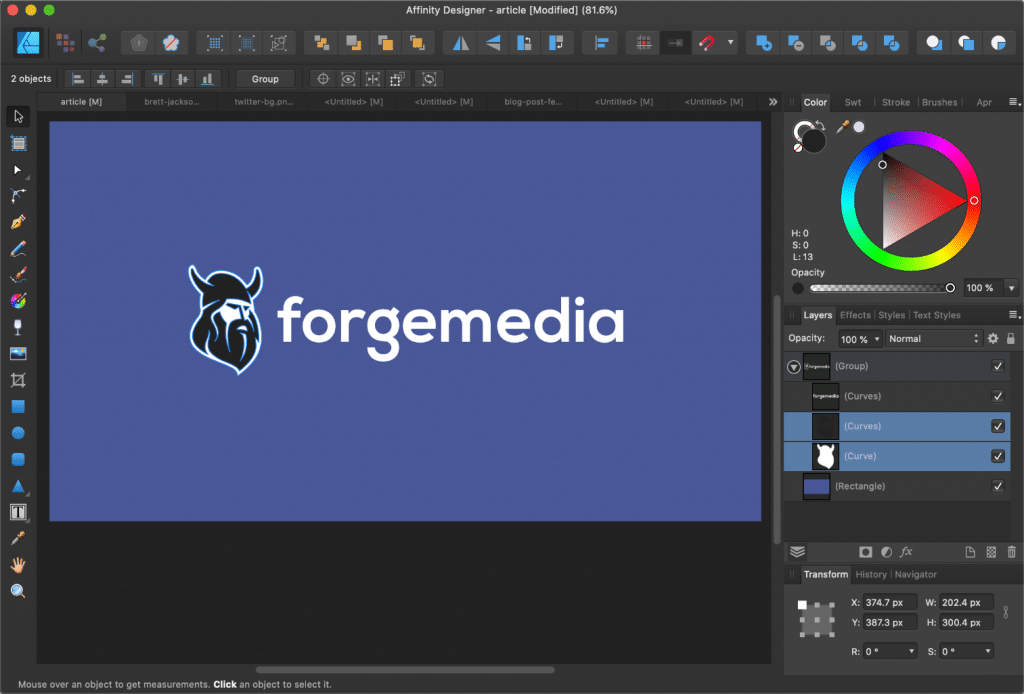
Here is the logo I was working with. As you can see, I have two layers. One is the black on the Viking, and another is just a white solid layer behind it. The problem is that for a single color screen printing, I really needed this to be transparent. So I needed to cut the shape out of the shape below it.

Subtracting
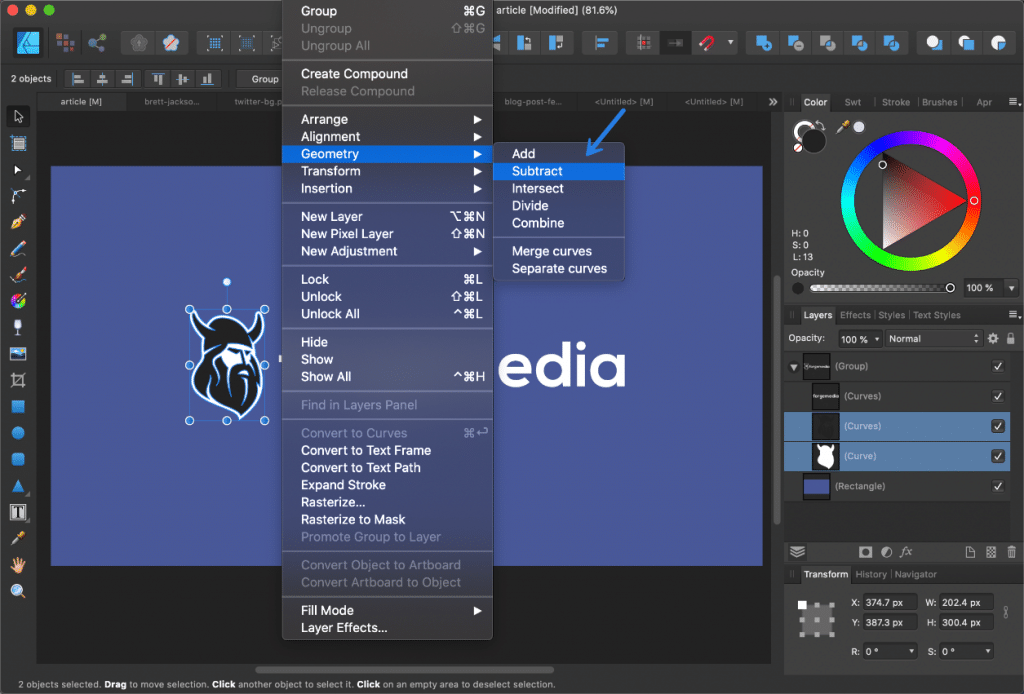
All that needs to be done is a simple subtract. Make sure you have the two layers selected. Then select the following: “Layer → Geometry → Subtract.”

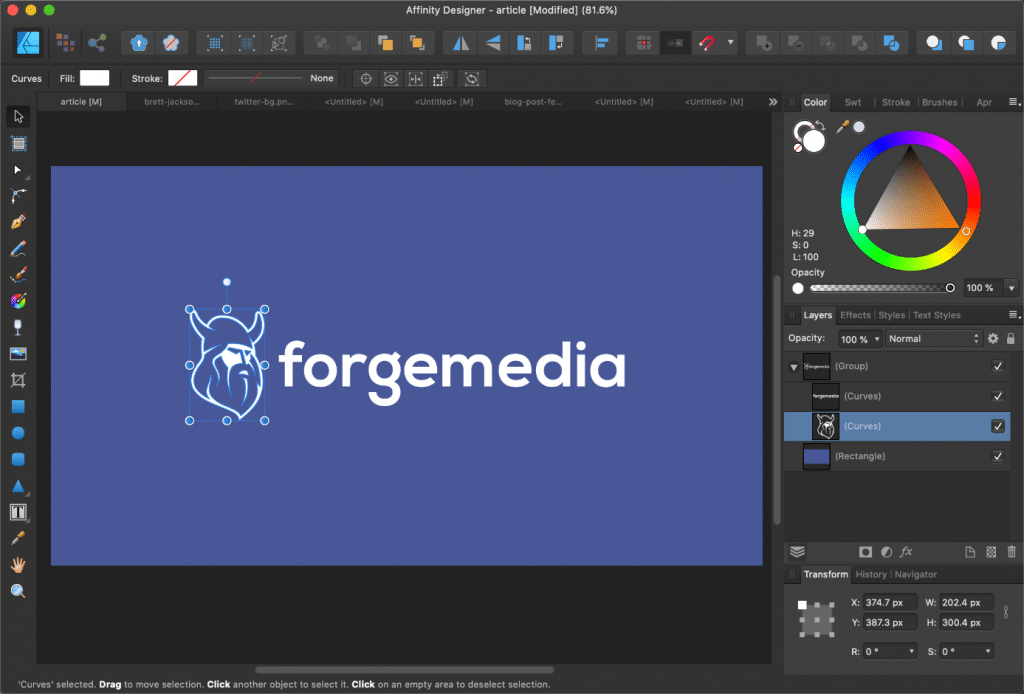
And there we go. As you can see, the top black layer cut through the bottom solid white layer. Now I’m good for a single color screen printing.

Using tools like Affinity Designer is quite easy once you figure out what you need to do. The hard part is sometimes searching for something when you don’t exactly know what it is called.
If this was helpful, let us know below in the comments!
Simple and concise, thanks!
Hey Xuri,
Glad it was helpful!
Took a few tries, but I’ve got it! Thanks!
Great, glad to hear it!