The Apple Mac mini M1 is a beast of a machine. I recently decided to make it my primary workstation. Because of its small form factor, I wanted to clear up my desk area and move towards an even more minimalist approach.
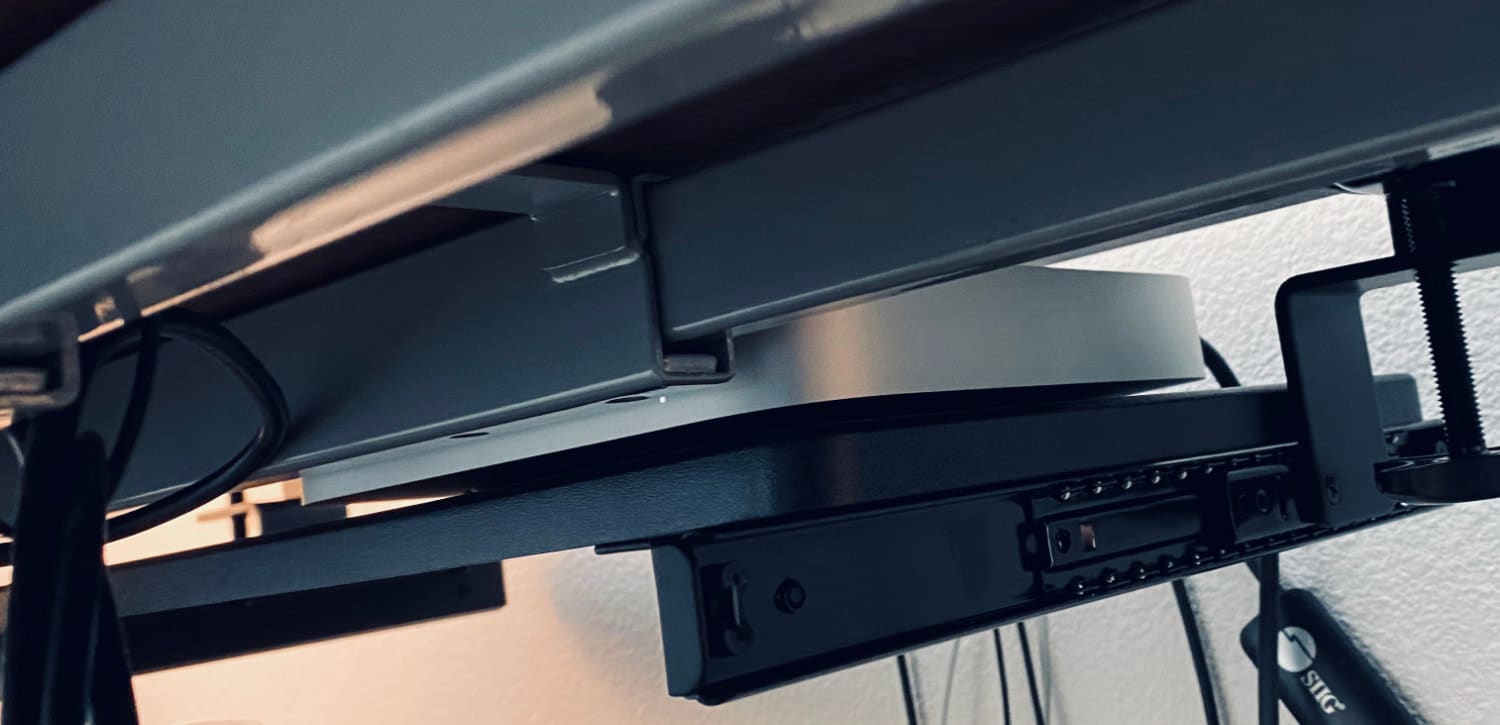
I’m not very handy with tools or building; I never have been. Today I’m going to show you a unique way to mount a Mac mini under your desk without using any screws. It only took me about 5 minutes!
Mounting the Mac mini
If you look on Amazon or Google, you’ll see many mounts specifically tailored for the Mac mini. However, almost all of them require screwing it into your desk. I have a standing desk that I invested in about 6 years ago. It’s a very nice slab of wood that I don’t ever want to drill into (top or bottom).
So I took another approach. I started researching keyboard trays. I figured if the measurements were right, I could easily put one on the back of the desk in reverse of how you would normally use one.
After looking at a few options, I decided to go with the VIVO Keyboard Under Desk Mount Slider Tray. I went with the small model, which you can get on Amazon for under $50.
Some of its features include:
- 20” x 11” under-desk keyboard and mouse tray.
- Easily glides in and out.
- Attach the keyboard tray to your workstation without causing any damage to your desk (1.25” maximum desk thickness) with sturdy C-clamps that hold everything tightly in place and are easily adjustable for user convenience.
- Limited 3-year manufacturer warranty.
VIVO is an ergonomic office furniture brand that creates standing desks, keyboard trays, chairs, monitor mounts, and more.
Assembling the VIVO Keyboard Tray
The great thing about the VIVO Keyboard Tray is you only need a screwdriver to assemble the tray and you’re good to go. It only took me about 5 minutes to put everything together. Follow the steps below.
Step 1
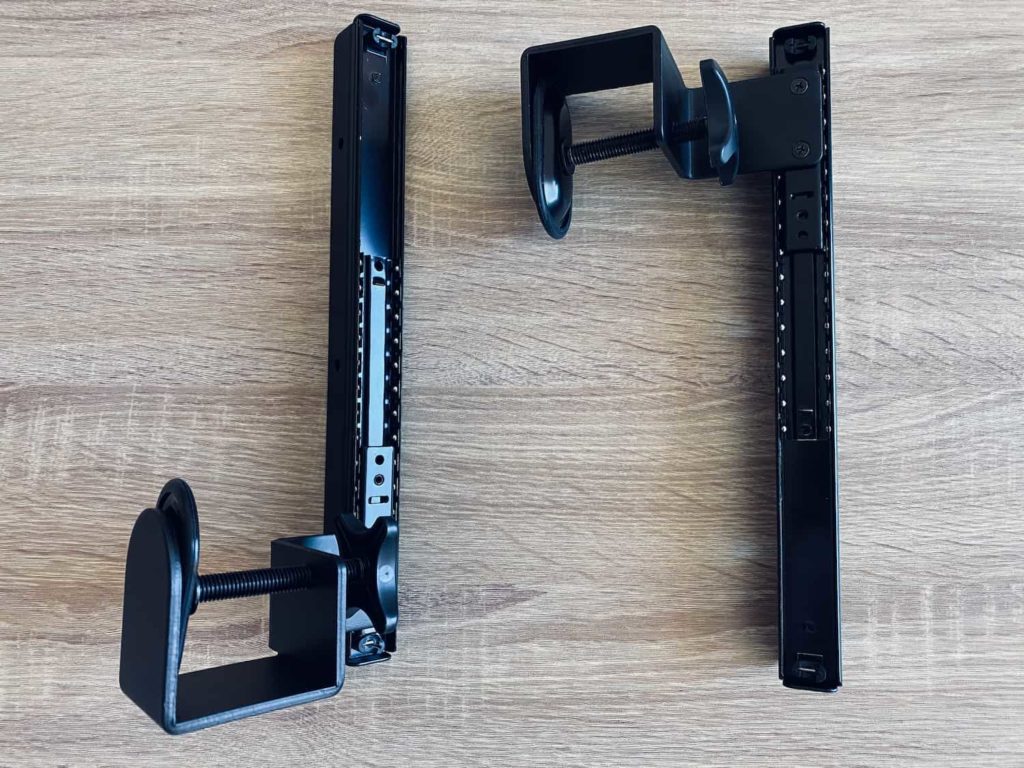
The first thing is to simply attach the clamps to the rails. These are attached with screws.
Step 2
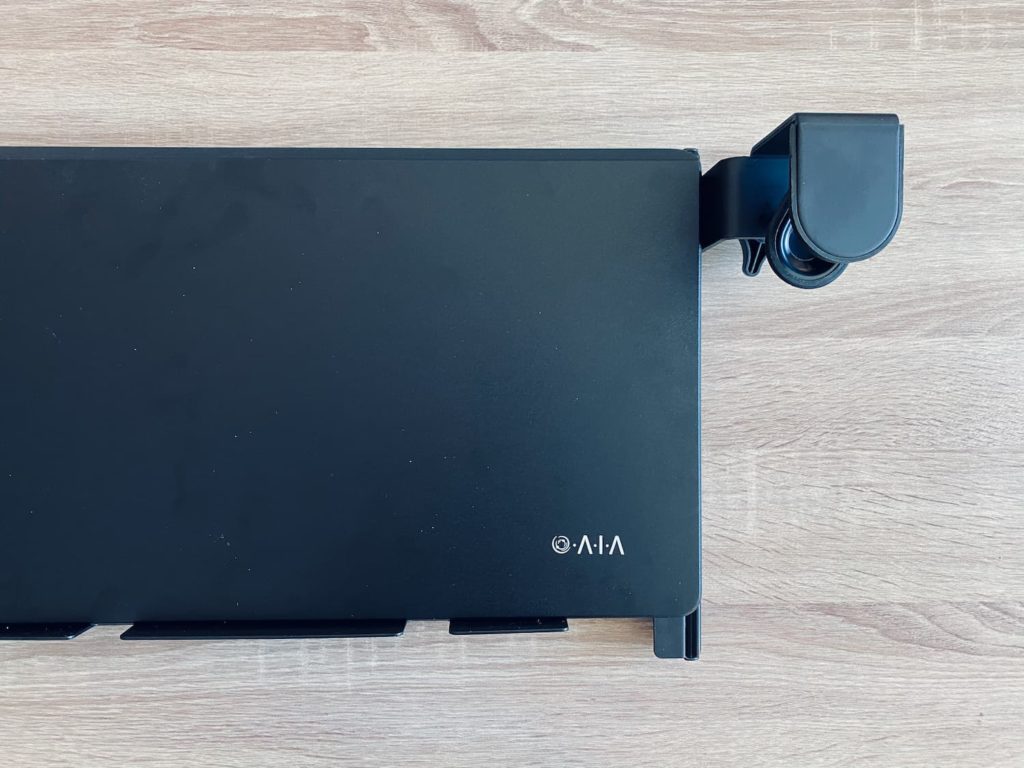
Next, you attach the keyboard tray itself to the rails. These are also attached with screws. One thing to note, I took the little backsplash off of the back of the keyboard tray. You can unscrew it. I wanted to leave as much airflow as possible for the Mac mini and am not worried about anything rolling off.
Step 3
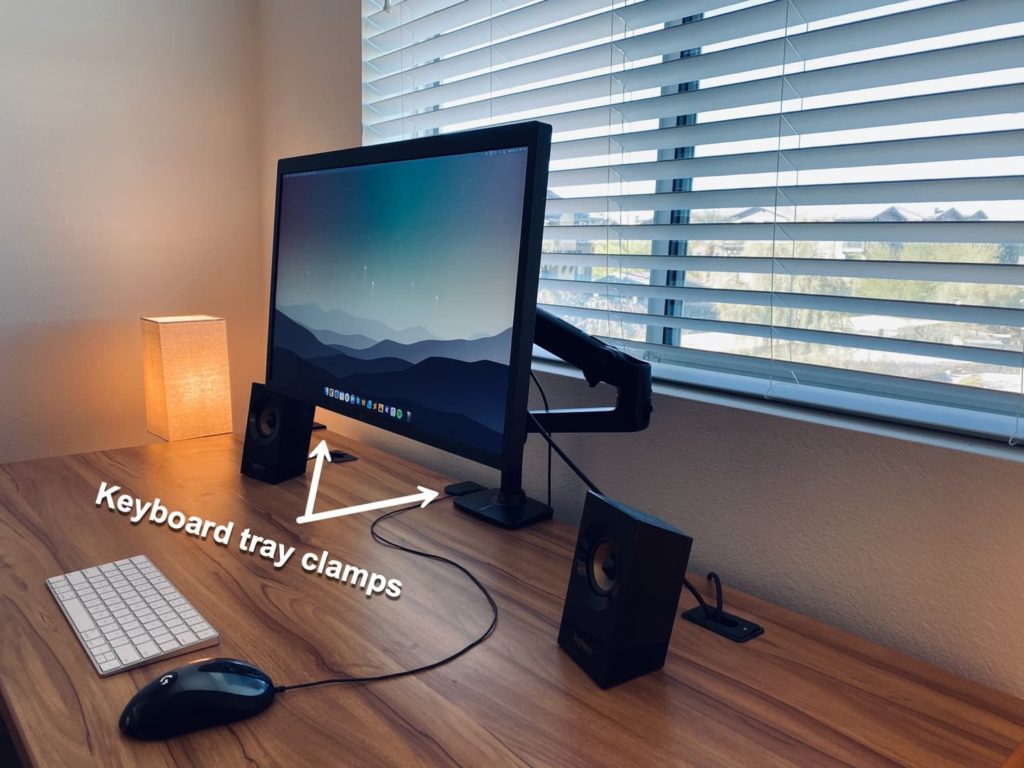
The last step is to attach it to your desk. This is done entirely with the clamps. You turn the knobs until they tighten up. They have little rubber covers that you place between the top of your desk and the camps. This ensures you won’t be causing any damage.
Also, as you can see below, the clamps are not very noticeable on my desk. It’s a lot better than having the Mac mini on the top with a bunch of cables coming out of the back.
And below is how it looks under my desk. Pardon the messy cable management. I have some plans for that as well. But the first step was getting the Mac mini mounted.
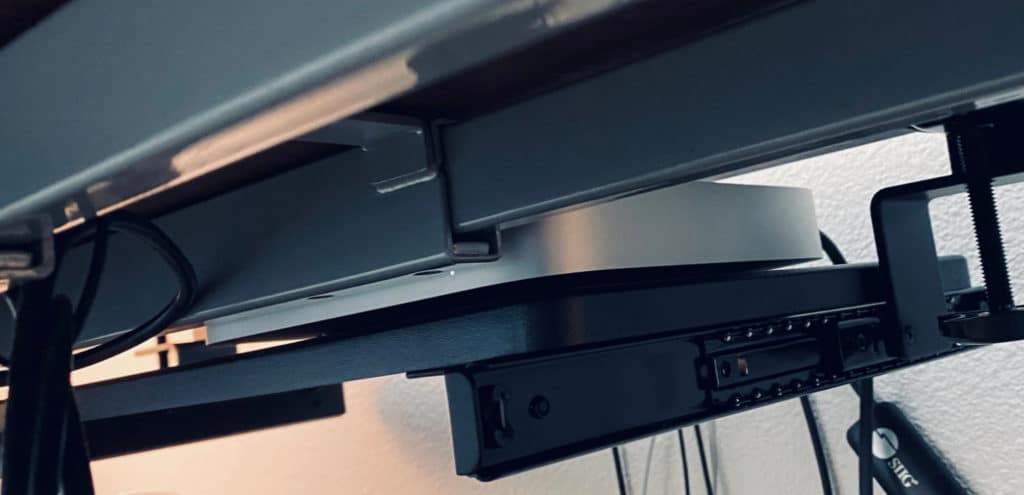
I was a little concerned with how the Bluetooth would perform with the Mac mini under the desk. I use the Apple Magic Keyboard and my AirPods constantly. But after extensive testing and daily use, everything worked great! There was never any cutting in and out.
As of writing this, I’m running on the macOS Big Sur 11.2 update which also addresses some Bluetooth issues that users reported with the Mac mini. So that probably helped as well.
Pros
- Easy to setup.
- Ability to remove the backsplash for airflow.
- No screws or drilling are required, which will save your desk.
Cons
- A little spendy compared to other Mac mini mounts.
Summary
I was pleasantly surprised with the VIVO Keyboard Tray, and it worked great as an under the desk Mac mini mount. I had it built and attached to my desk in about 5 minutes, and there are no screws or drilling required.
View the VIVO Keyboard Tray on Amazon
I would love to know what you think about using a keyboard tray for a mount. Drop your comments below.

Which monitor are you using Brian?
I’m using the LG 5K Ultrafine and monitor arm from Amazon. Reviews are coming in the pipeline for these as well. :)
Nice mount, now I went for surface a few years ago but didn’t like the performance and size so went for decent gaming laptop and kind of like the RGB keyboard and the screen but now also got 27 inch secondary monitor from Razor and love it. Still great build here.
Thanks Daniel! I love hearing about people’s workstations. :)
Great! Amazing tools very clever. :)
How do you go about getting to the power button, or do you just leave it on?
Hey Emmanuel,
I just leave my Mac mini on. One reason is that I have a Plex server running, so it needs to be accessible at all times.
Excellent idea plus well-written instructions; I have just assembled the tray & am about to mount it. It’s a good alternative for those of us who want to minimize puncturing the undersides of our desks – in my case I have a fairly expensive desktop of solid bamboo & the only holes I’ve drilled are for 4 metal legs.
Hey Randy,
Glad it was helpful!