Whether you’re testing a new plugin, designing, writing code, or just tinkering around, a local WordPress development environment can come in handy. Kinsta has launched a new tool, DevKinsta, to help make this whole process a little easier.

With DevKinsta, Nginx, PHP, and MySQL are all automatically configured. It’s available for macOS, Windows, and Ubuntu/Linux. It’s also free forever, so you don’t have to worry about a pro version coming later down the road.
Below I’ll dive into how to set up DevKinsta and a few different ways you can use it. It’s important to note that you don’t have to be a Kinsta customer to use DevKinsta, but there are some pretty cool advantages to streamline your workflow if you are.
Advantages of a local WordPress development environment
The idea of a local WordPress development environment isn’t anything new. For many, it’s been a part of their regular workflow for years. You have existing tools like Local from Flywheel and your classic XAMPP and MAMP solutions.
But why even bother with testing locally? Well, there are a few advantages in my opinion.
1. Staging sites are typically slower than testing locally
Many hosting providers include staging sites for free these days. However, the problem behind many of these is that they are sometimes limited. Either they have caching turned off for development purposes (this is a good thing when testing) or fewer resources (PHP workers, RAM) than the live site. You have to remember that hosting providers have bills too.
However, the result is that sometimes the staging site will be slower than the live site. If you’re bouncing around testing things, this can be frustrating. If you’re testing locally, this relies on the resources of your computer. It also gets rid of any network latency, so caching isn’t even really needed.
2. There are no limits
Most hosting providers have limits on the number of staging sites you can have. If you’re using a local WordPress development environment, there are no limits. You can spin up 10 test sites or 50.
3. Offline coding
Another huge advantage of using a local development environment is that you can code offline. Whether you’re on a plane, in the park, or anywhere else where Wi-Fi might be spotty, this comes in really handy.
4. Debugging is fast and easy
Debugging locally can sometimes be easier than on a hosted site. Many times you have to work around your hosting provider’s implementation of how to view debug logs, or you have to tweak your wp-config.php file to enable debugging. Most local environment tools, including DevKinsta, have an easy debug toggle that writes directly to your machine. No hassle.
Disadvantages of a local WordPress development environment
While I think the advantages make it a no-brainer, there are some disadvantages.
1. Sharing isn’t perfect
Obviously, the whole idea behind using a local WordPress development environment is that it’s only located on your machine. But what if you’re developing for a client, you might want to share it with them before going live.
Some solutions like Local do provide a way to make a link public and share it, but the whole problem is that you have to leave Local up and running. I’m not sure about you, but if I’m working with a client, I don’t want to rely on my computer being on 24/7. It’s not Local’s fault; that’s simply the nature of what happens when hosting something on your machine.
A much better solution is to push your local site to staging with your hosting provider so that it’s accessible at all times. That way your client isn’t calling you in the middle of the night if your computer restarted or went to sleep.

Pushing to staging obviously involves a few more steps, but in my opinion, it’s a much safer route if you’re dealing with clients.
2. More initial setup involved
There is obviously more initial setup involved when getting a local development environment running. It means you’re probably going to be reading through a tutorial like this one to get everything the way you need it. However, once you have your environment in place, it shouldn’t slow you down.
Introducing DevKinsta
In my opinion, it’s always great for users to have more options to choose from. After all, that’s why we all use WordPress. More competition means things improve faster. Introducing DevKinsta, which makes local WordPress site creation a breeze. Spin up a new site with a few clicks and start testing away.
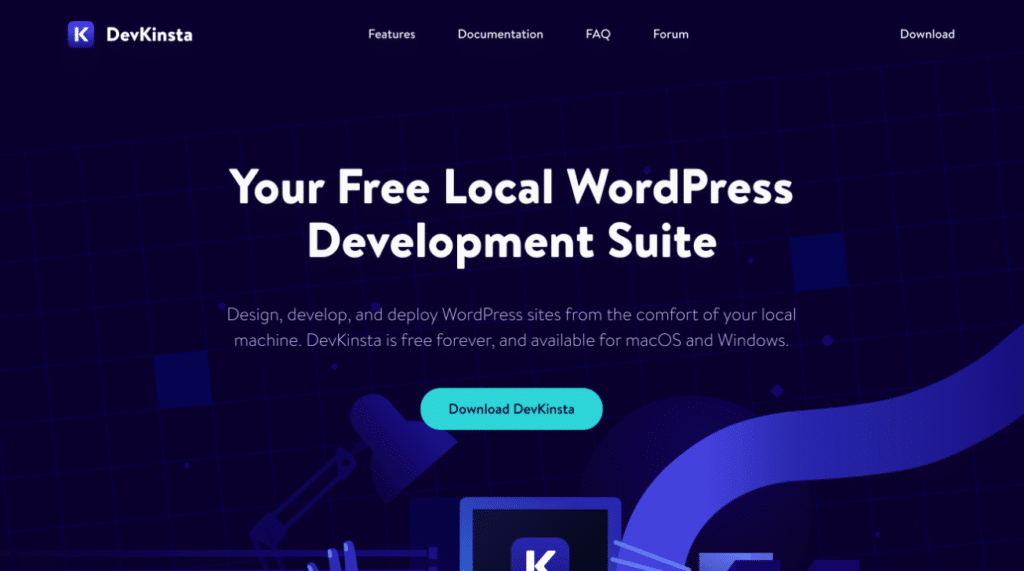
The primary features in DevKinsta include:
- macOS, Windows, and Ubuntu/Linux clients.
- Powered by Docker, Nginx, and MariaDB. It uses ARM64 docker images on Apple M1 devices.
- PHP 7.2, 7.3, 7.4, 8.0, 8.1, and 8.2.
- The latest version of WordPress core.
- A beautiful dark and light mode.
- One-click Multisite (subdirectory or subdomain).
- Local database management (Adminer).
- An SMTP server and inbox for email testing.
- Easily stop individual sites when not in use.
- Access to WP-CLI.
- Easy toggle for debugging.
- Seamless integration with MyKinsta. If you’re a Kinsta customer, there are some huge advantages, which I’ll dive into below.
- Supports your native OS language: English, French, Spanish, Portuguese, Dutch, German, Italian, Japanese, Swedish, and Danish.
How to install DevKinsta
Before diving into the installation, make sure your local machine meets the following requirements:
- At least 5 GB of disk space, 20 GB+ is recommended.
- At least 1 GB of RAM. 2 GB+ is recommended.
- A stable Internet connection for the download.
- Virtualization enabled in BIOS. Most computers have this enabled by default these days.
Follow the steps below to install DevKinsta.
Step 1
Visit DevKinsta and click on the “Download DevKinsta” button.
Step 2
The appropriate download should then start based on your operating system (.dmg for Mac, .exe for Windows, or .deb for Ubuntu/Linux).
Step 3
Double-click the file to start the installation. You’ll see it do a few one-time processes, such as installing Docker, which runs behind the scenes.

After the installation is finished, you can pin it to your dock or add a shortcut to your desktop/start menu. I was up and running with DevKinsta in under 10 minutes.

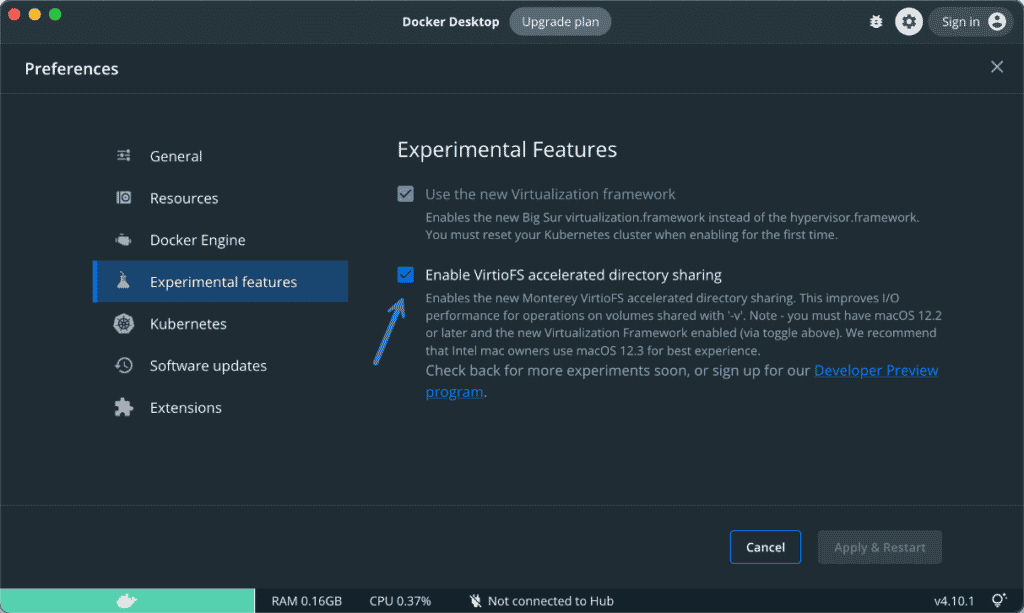
If you’re on on a Mac, make sure to also enable virtiofs in Docker for a big speed boost! If you’re on Windows, you can switch to Hyper-V for improved loading.
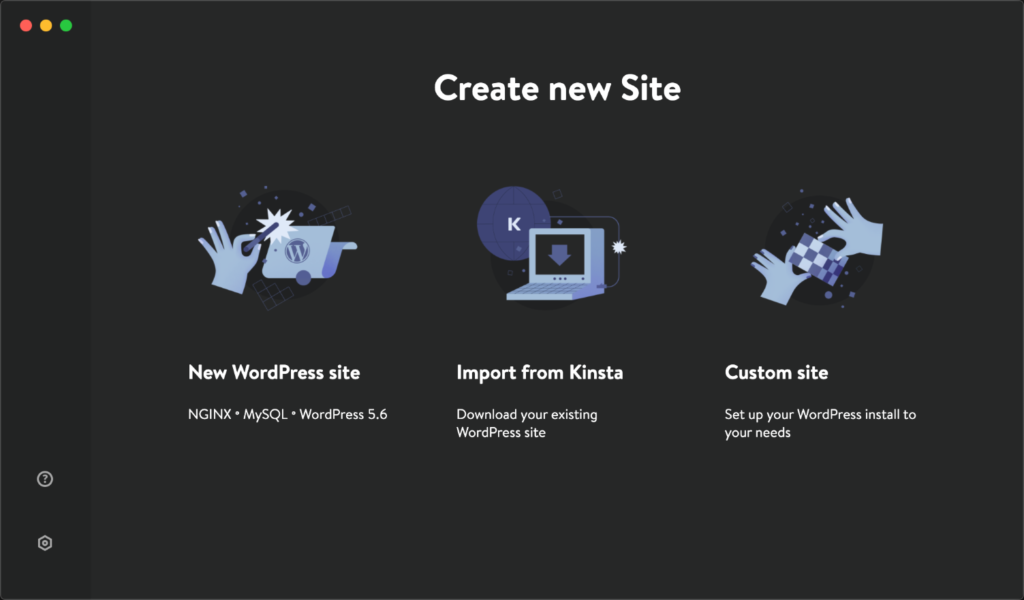
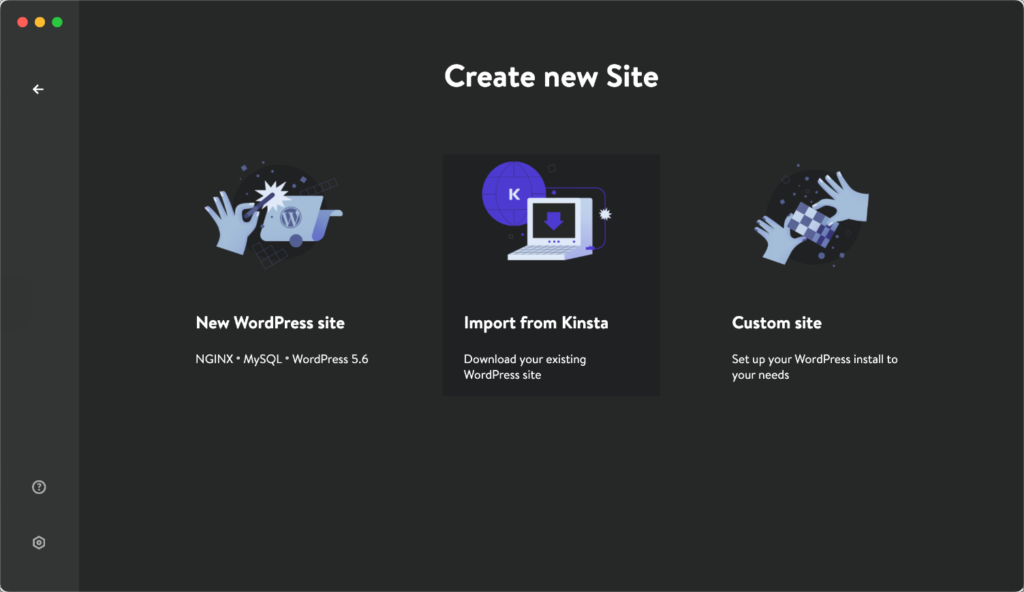
Upon first launching DevKinsta, you’ll see a beautiful UI with three options of which I’ll dive into below:
- New WordPress site: Create a new blank site running the latest version of WordPress.
- Import from Kinsta: Download and test on an existing site you have in MyKinsta.
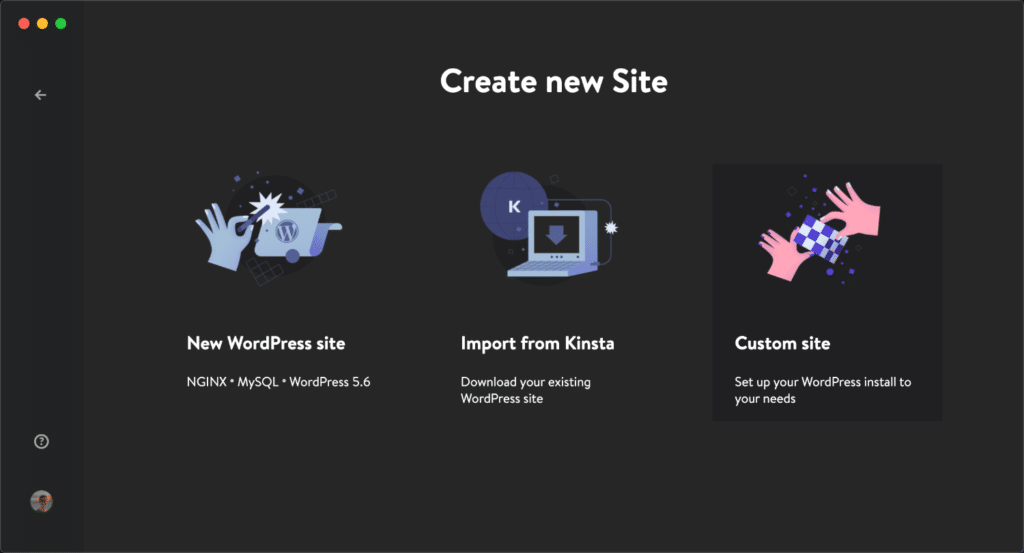
- Custom site: Create a new WordPress site and change additional options such as PHP version, Multisite, database name, admin email, etc. You can also create sites without a WordPress installation (empty sites).
How to install a local WordPress site
The most common task is to create a blank local WordPress site. Follow the steps below.
Step 1
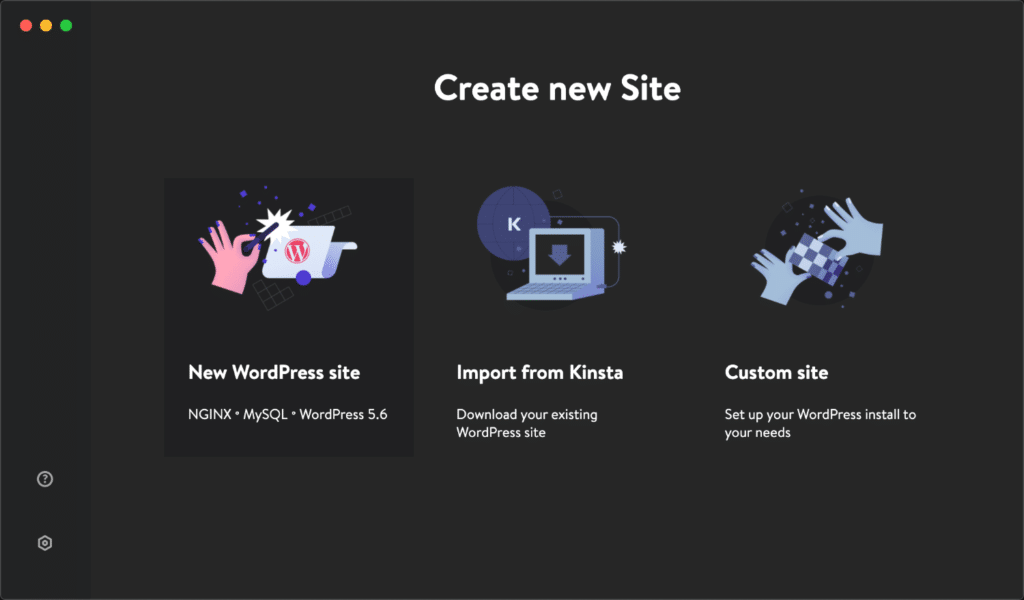
Click on “New WordPress site.”
Step 2
Enter your site name and WordPress admin username. You can then choose a password or copy the automatically generated one. Then click “Create site.”
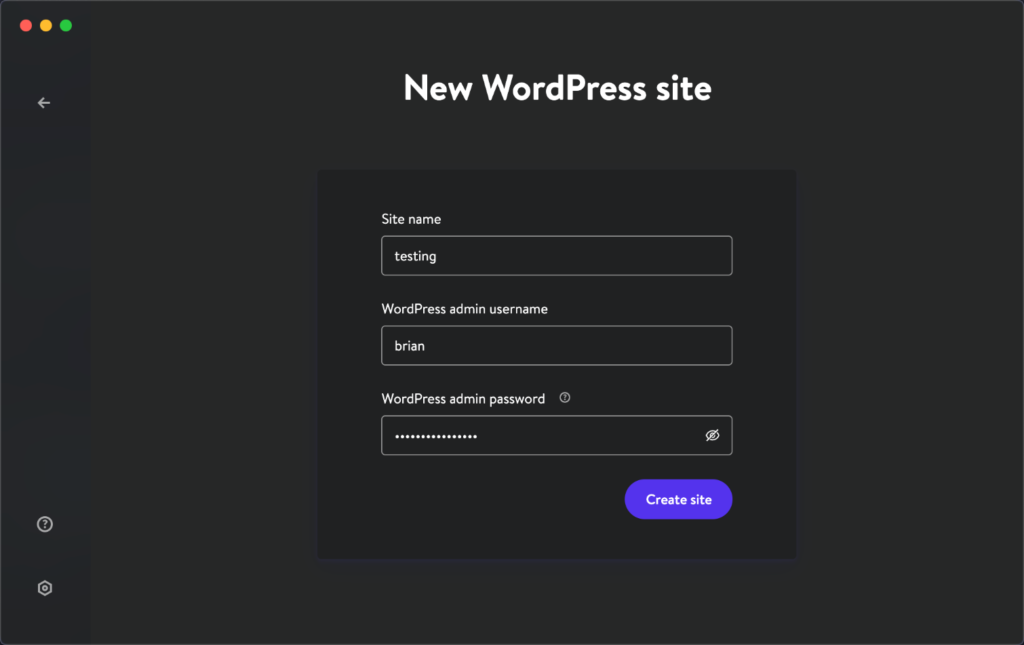
And that’s it! Pretty easy. It takes about 20-25 seconds to spin up your new WordPress site. If you’re on a Mac, you might get a prompt to enter your password so that it can add the domain to your system’s host file.
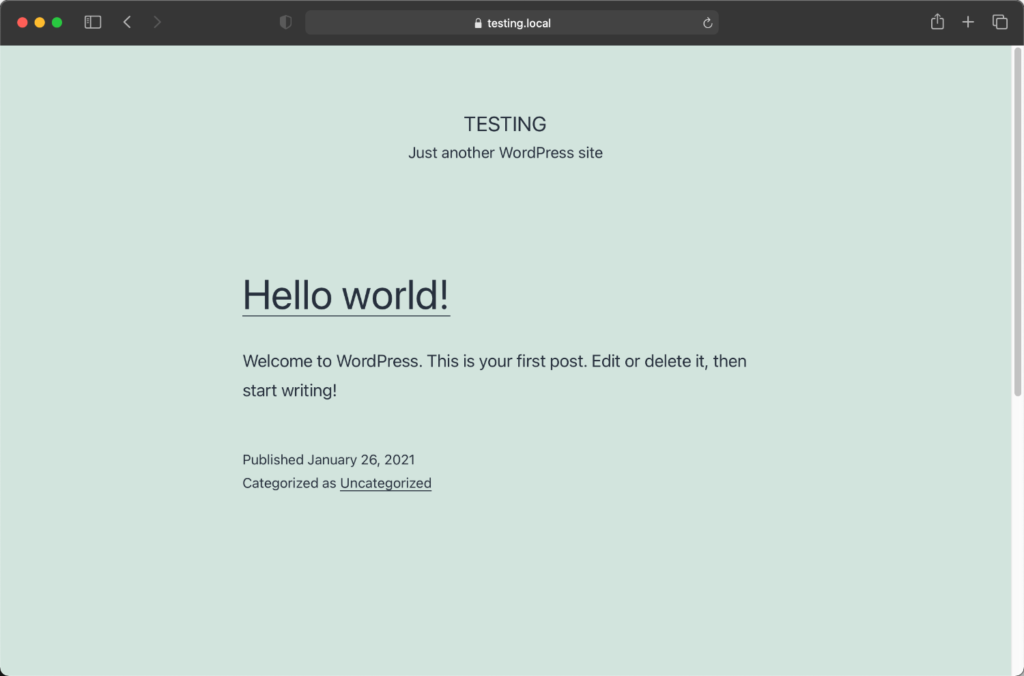
Your local test site is created using the site name you choose in Step 2, and the domain is .local. In our example, it’s testing.local. Below is how the new site looks right out of the box. It’s using the Twenty Twenty-One theme.
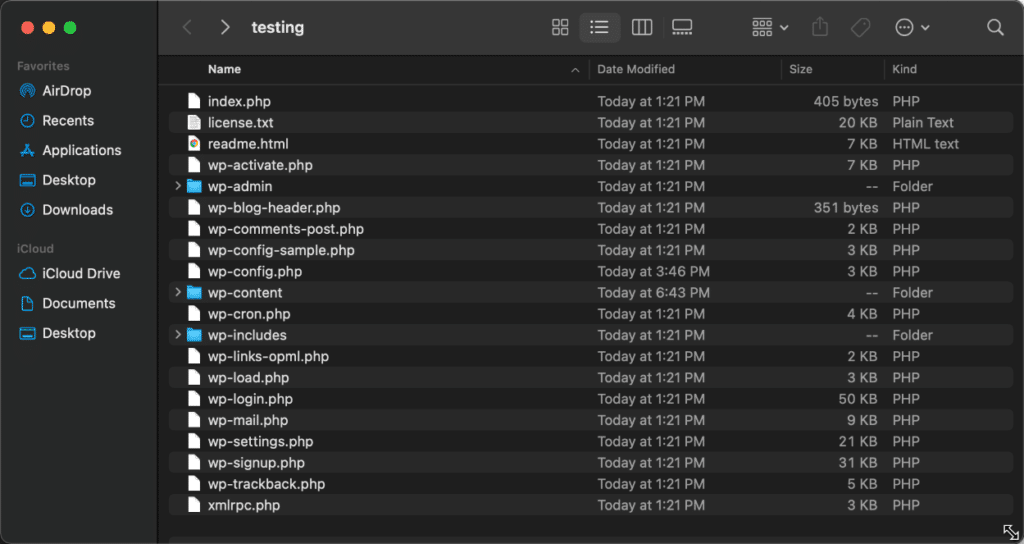
And here’s a look at the folder directory.
You will then see an overview of the Site info screen in DevKinsta. Here you can access things like:
- WordPress site link
- WordPress admin dashboard link
- Database manager and credentials
- Toggle to enable SSL/HTTPS
- Toggle to enable
WP_DEBUG
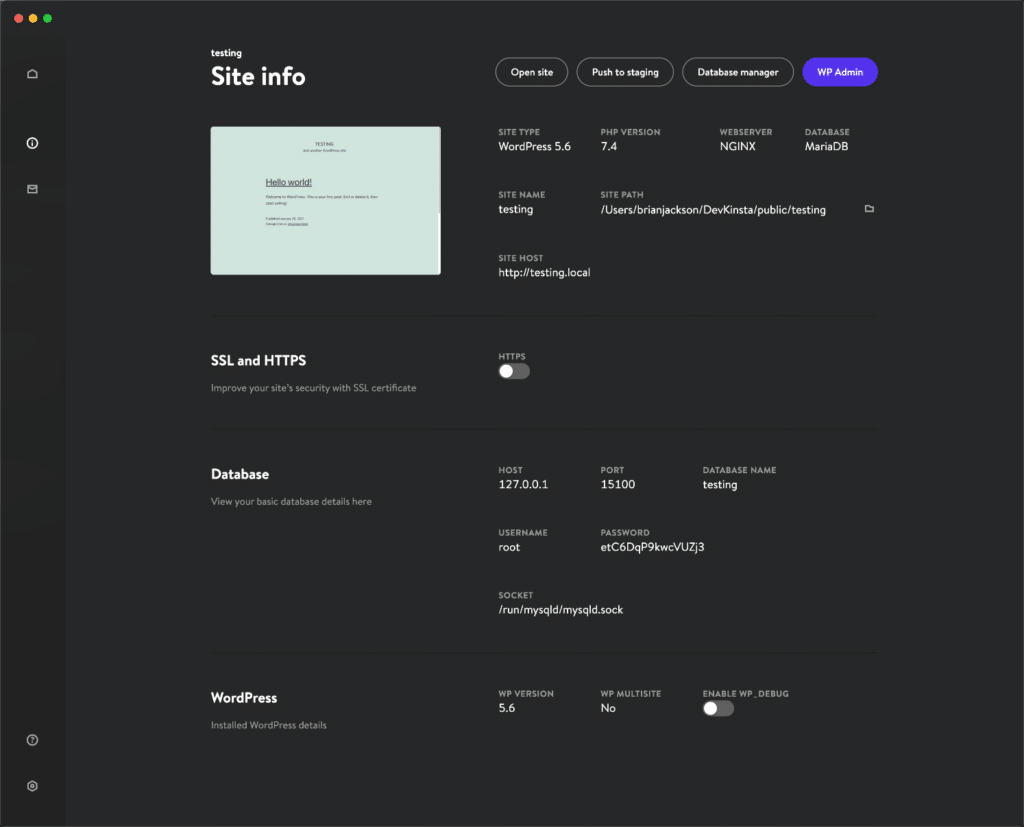
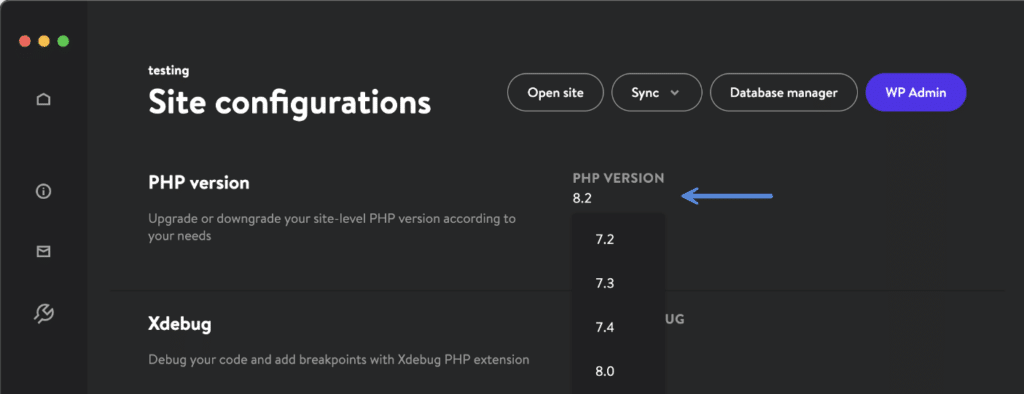
You can go into the site configuration tab to easily switch between different PHP versions: 7.2, 7.3, 7.4, 8.0, 8.1, and 8.2.
I noticed there is a small bug with enabling SSL/HTTPS on macOS. However, the Kinsta team is already aware of this, and it will most likely be fixed soon.
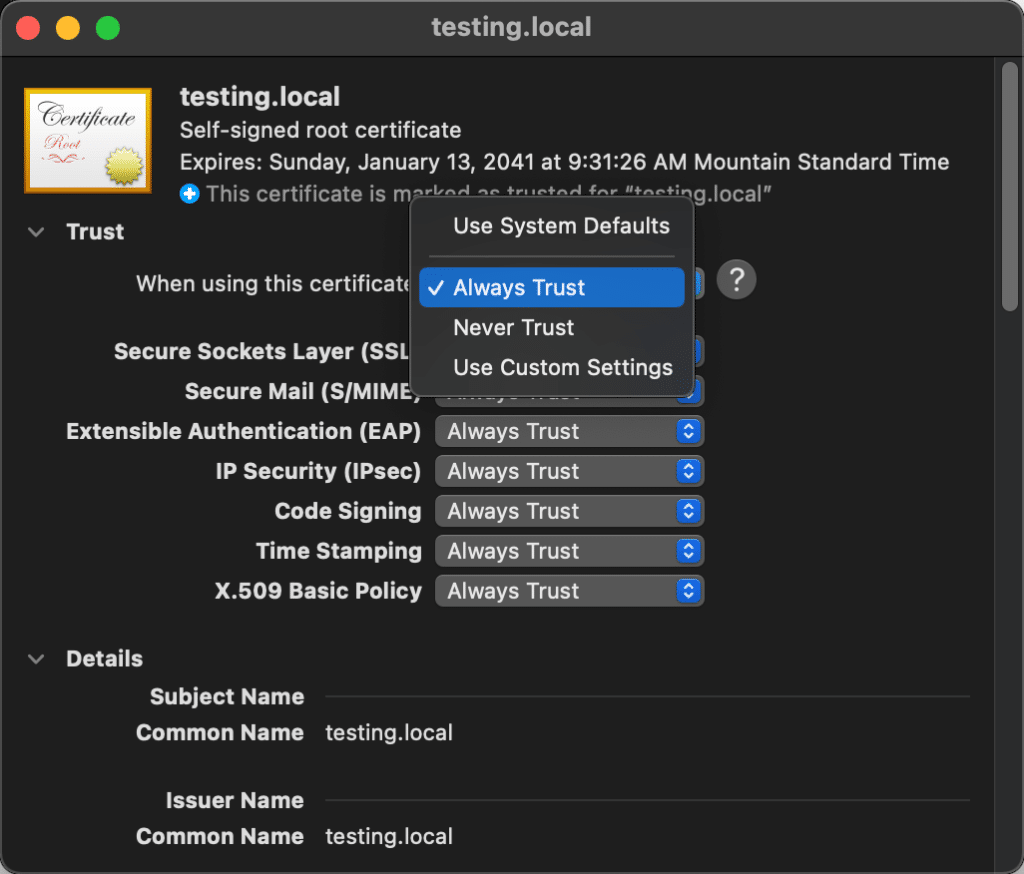
Until then, you can manually trust the certificate by going into Keychain Access on your Mac. Search for your local test site domain and select “Always Trust” for the certificate.
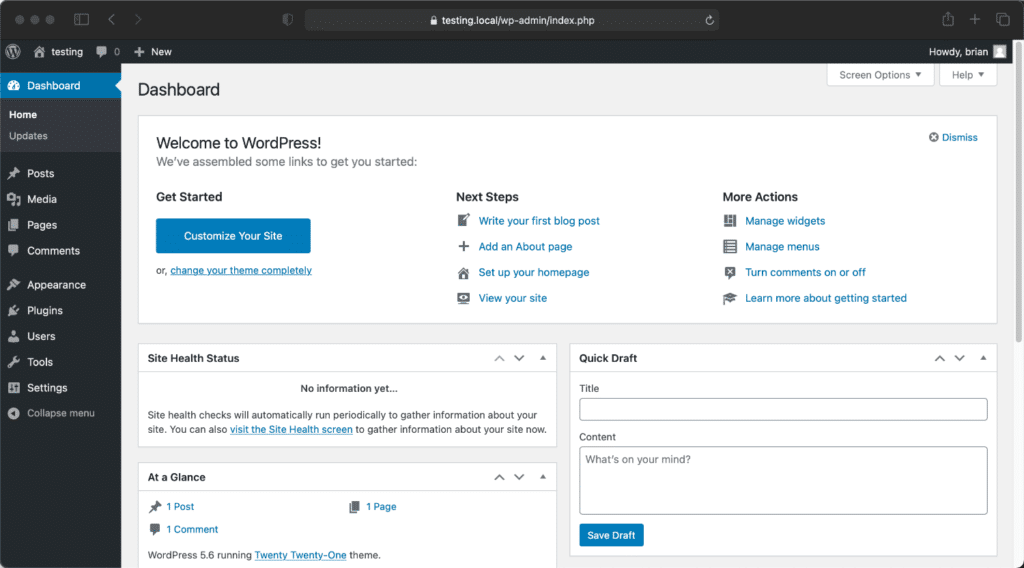
One of the best things about testing and developing in local WordPress sites is the speed. No network latency means things in your WordPress admin dashboard load lightning-fast 100% of the time.
Database manager
Most of you are probably used to phpMyAdmin. DevKinsta includes a popular streamlined database manager tool called Adminer. To access it, click on “Database manager” in the Site info screen.
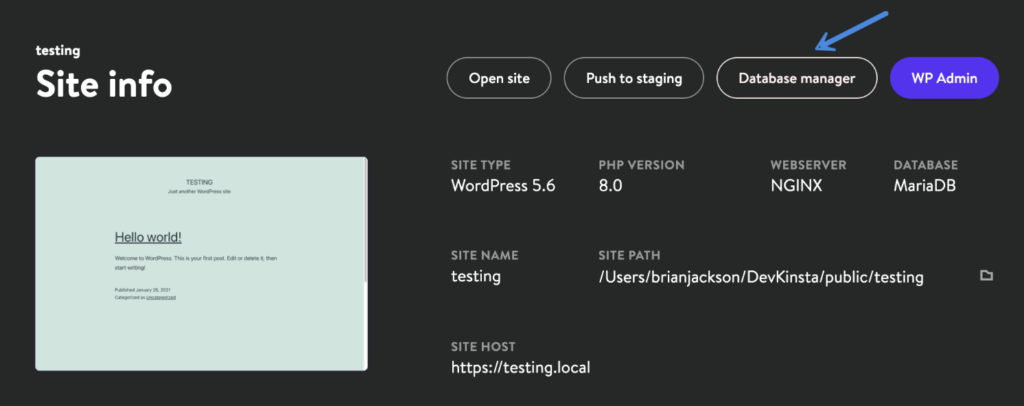
It will log you in automatically. You can then run SQL commands, check plugin and theme tables, and do any troubleshooting you need.
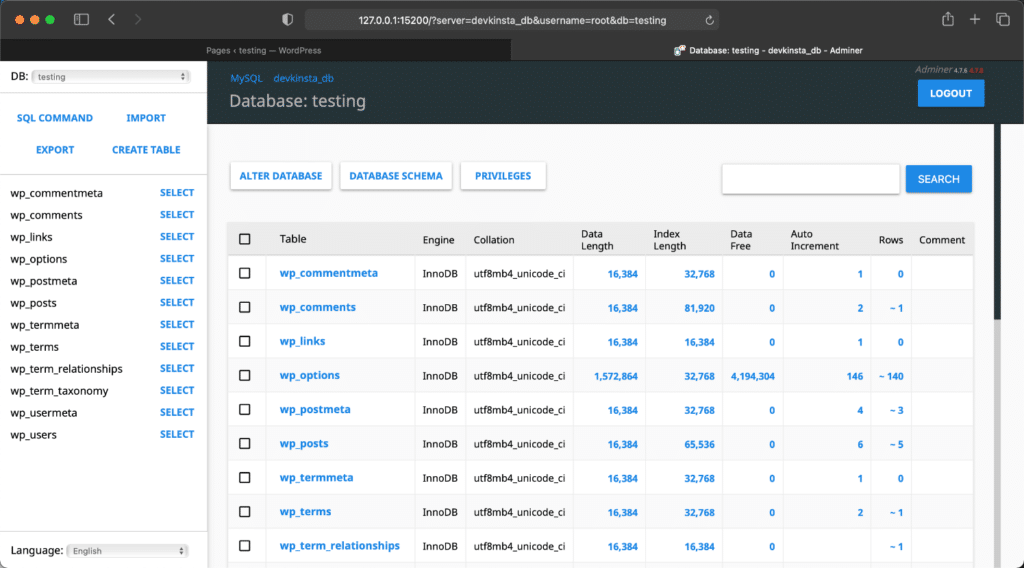
If you’re not a fan of Adminer, you can also manage your database with other third-party applications like TablePlus or Sequel Pro.
Email SMTP testing
You can also monitor emails locally. The email inbox can be found on the left-hand side of the DevKinsta app. This comes in handy if you need to test a contact form, ecommerce transactional email, etc.

Behind the scenes, this uses an open-source web and API based SMTP testing tool called MailHog. All the emails will be routed into your DevKinsta email inbox automatically, but you can view them in MailHog directly if needed as well. Just go to localhost:8025 in your browser.
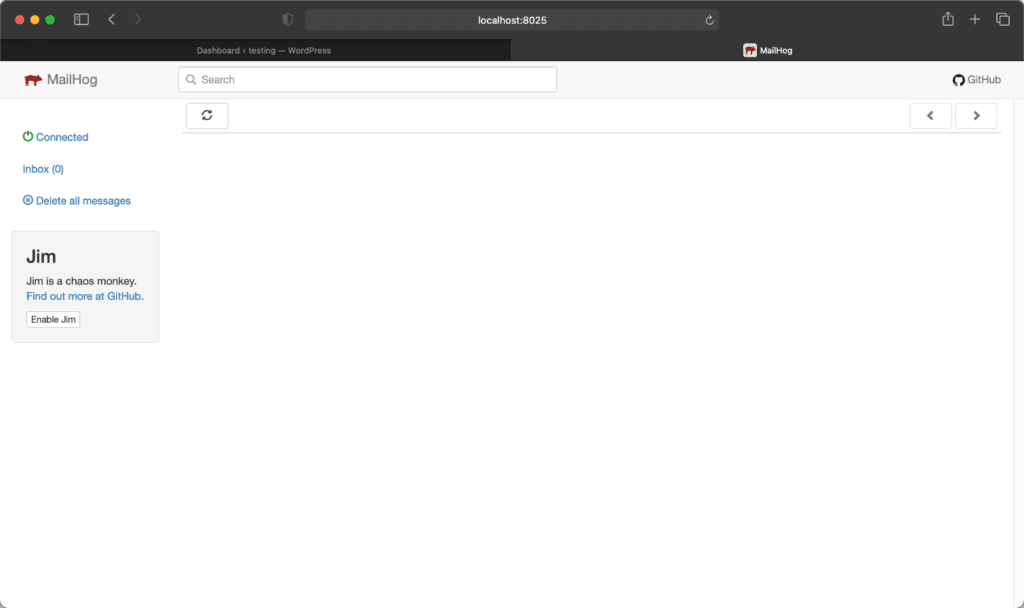
Note: MailHog had a few issues for me due to the tech preview of Docker and M1. However, that should fix itself soon.
Debugging
Another great thing about testing locally is how easy they make debugging. To enable it, simply toggle on the “Enable WP_DEBUG” option in DevKinsta.

This creates a debug.log file in the wp-content folder of your WordPress installation. You can click on the folder icon on the Site info screen to go directly to your site’s folder.
<projectPath>/public/<siteName>/wp-content/debug.logBesides WordPress debugging, you can also access the following logs:
Access logs
<projectPath>/logs/<siteName>_access.logError logs
<projectPath>/logs/<siteName>_error.logPHP-FPM logs
For PHP-FPM logs, the .log file name will vary based on the version of PHP you’re running. Example below.
<projectPath>/logs/php8.0-fpm.logNginx logs
docker logs -f devkinsta_nginxPHP-FPM logs
docker logs -f devkinsta_fpmMariaDB logs
docker logs -f devkinsta_dbMailHog logs
docker logs -f devkinsta\_mailhogWP-CLi
WP-CLI is a nifty command-line tool for developers to manage WordPress sites without the web browser. You can access WP-CLI using a local site. Take a look at this doc from Kinsta.
PHP.ini Editor
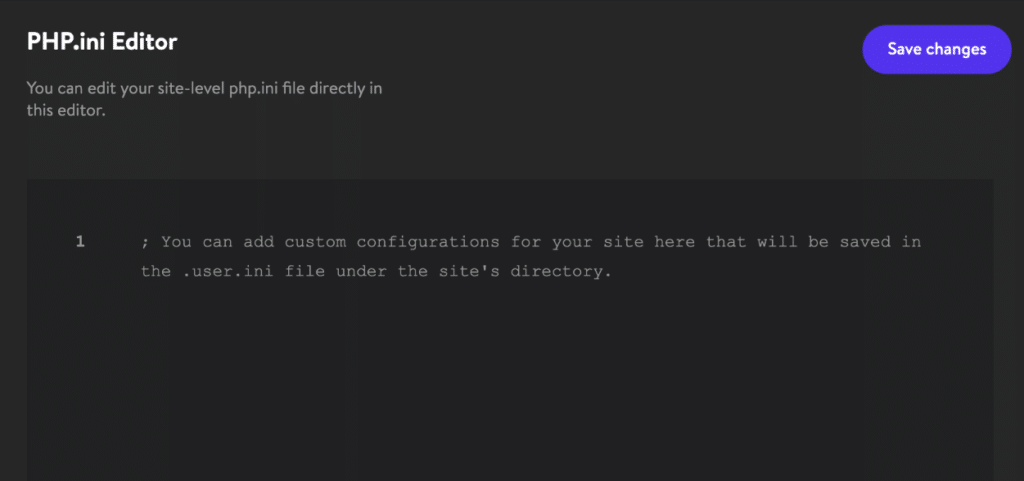
There is also an easy to access php.ini editor. This allows you to easily change attributes, like the memory limit, for example: memory_limit = 512M
How to import an existing Kinsta site
Your second option in DevKinsta is to import a site you already have in MyKinsta. This assumes you’re hosting the WordPress site with Kinsta. This is where one of the huge advantages comes into play. Follow the steps below.
Step 1
Click on “Import from Kinsta.”
Step 2
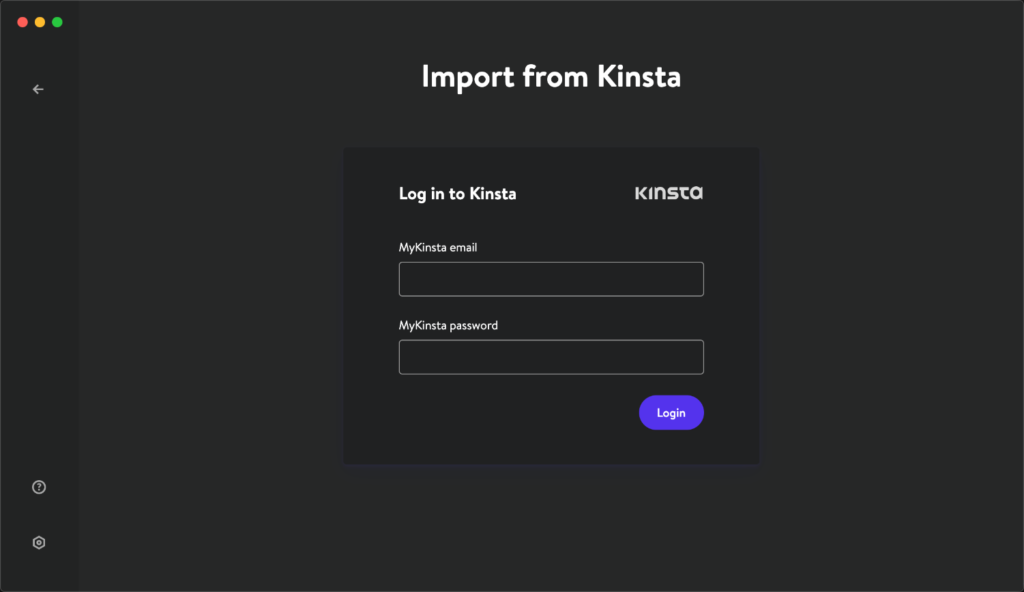
Enter your MyKinsta login credentials and click “Login.”
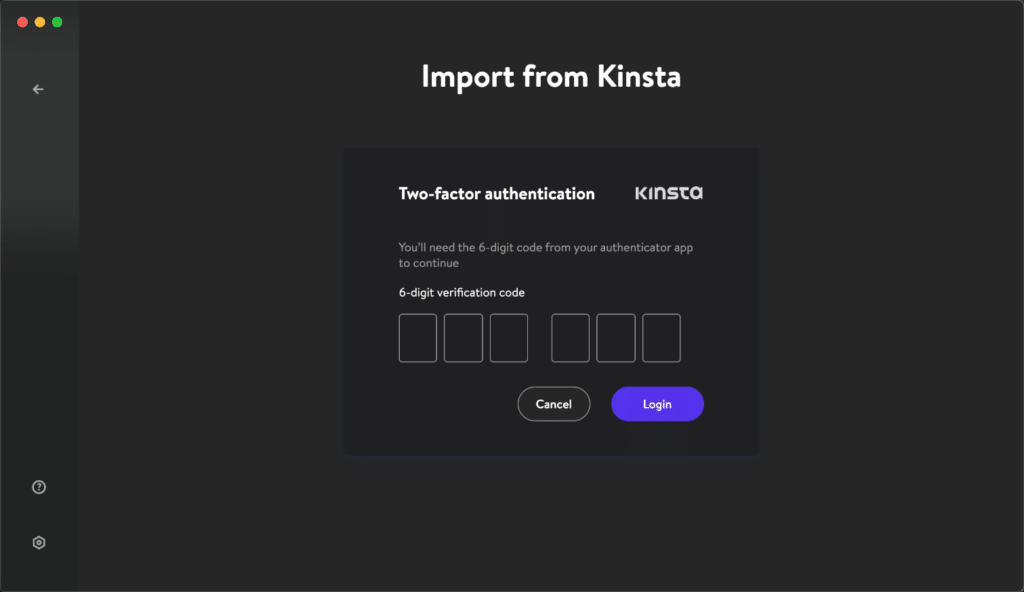
If you have two-factor authentication enabled (which I highly recommend you do), then you’ll need to enter the 6-digit code from your authenticator app.
Step 3
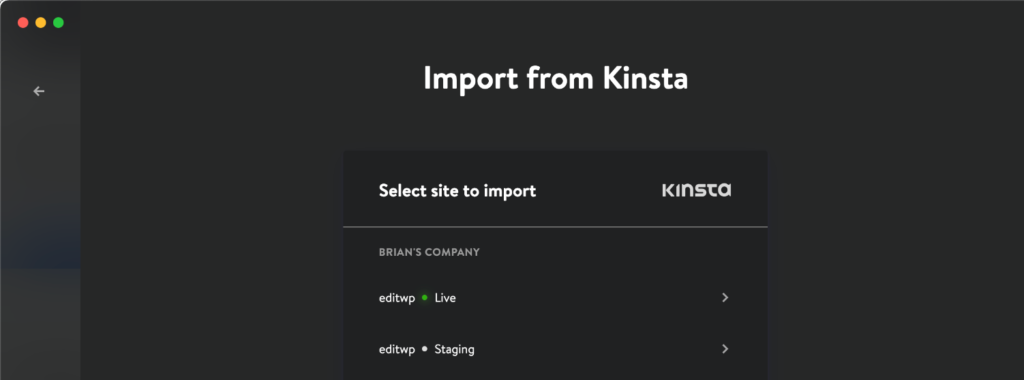
You will then see a list of your sites in MyKinsta to import, both live sites and staging sites. In this example, I’m importing a staging site.
Step 4
If it’s a multisite, choose the configuration. Then click “Import site.”
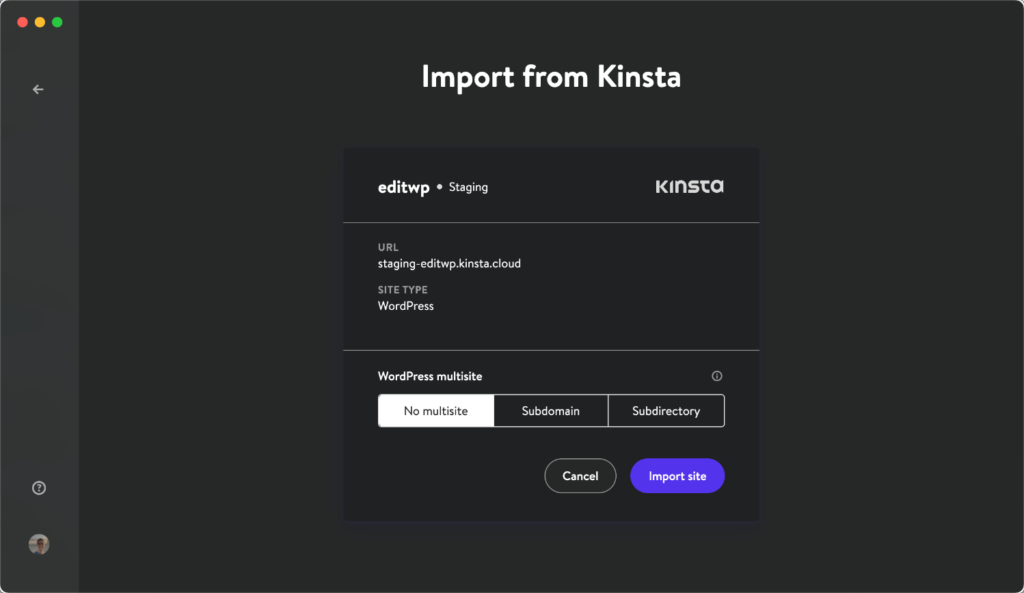
The site creation only takes a few seconds, but it does have to download your entire remote site. So this may take a few minutes depending on your site’s size and your network connection speed. You can monitor the progress at the bottom.
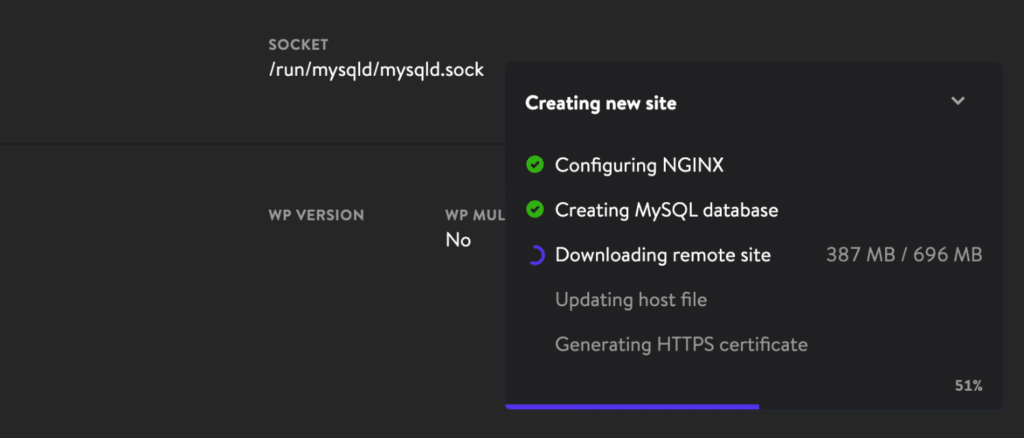
And that’s it! Your site from MyKinsta is now ready to use locally. It does all the find and replace magic for you, so it’s accessible at the .local domain.
You can now do all of your testing and development locally. Another perk is that you could go offline and code. Then when you’re done, click the “Push to staging” to push the site back to MyKinsta.
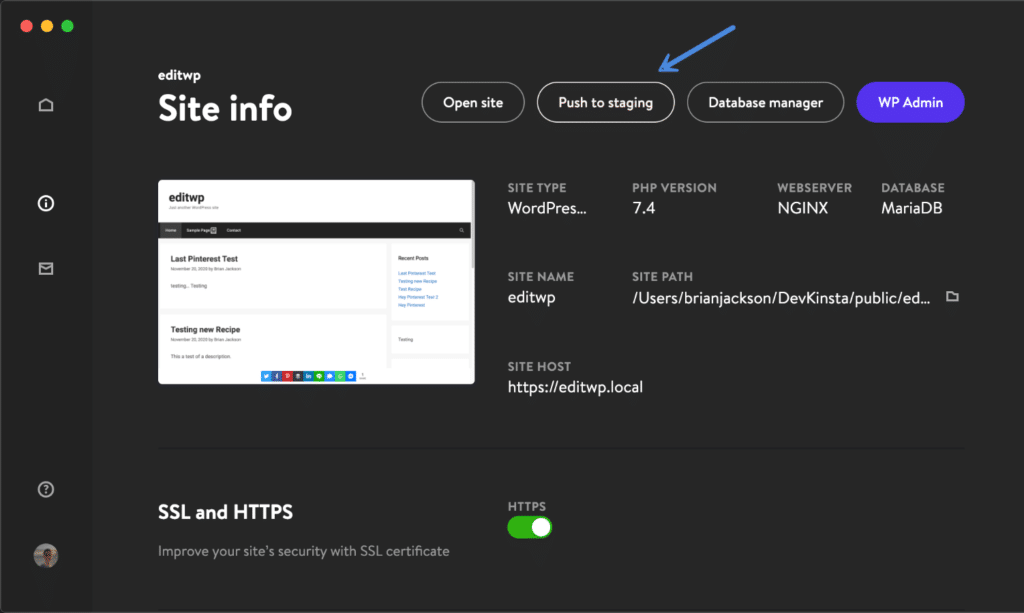
You might also notice that after you log in with your MyKinsta credentials, your gravatar will show up in the bottom left. Just like in the MyKinsta dashboard.
How to create a custom WordPress site
Your third option in DevKinsta is to create a WordPress site from a custom configuration. You can also create sites without a WordPress installation (empty sites). Follow the steps below.
Step 1
Click on “Custom site.”
Step 2
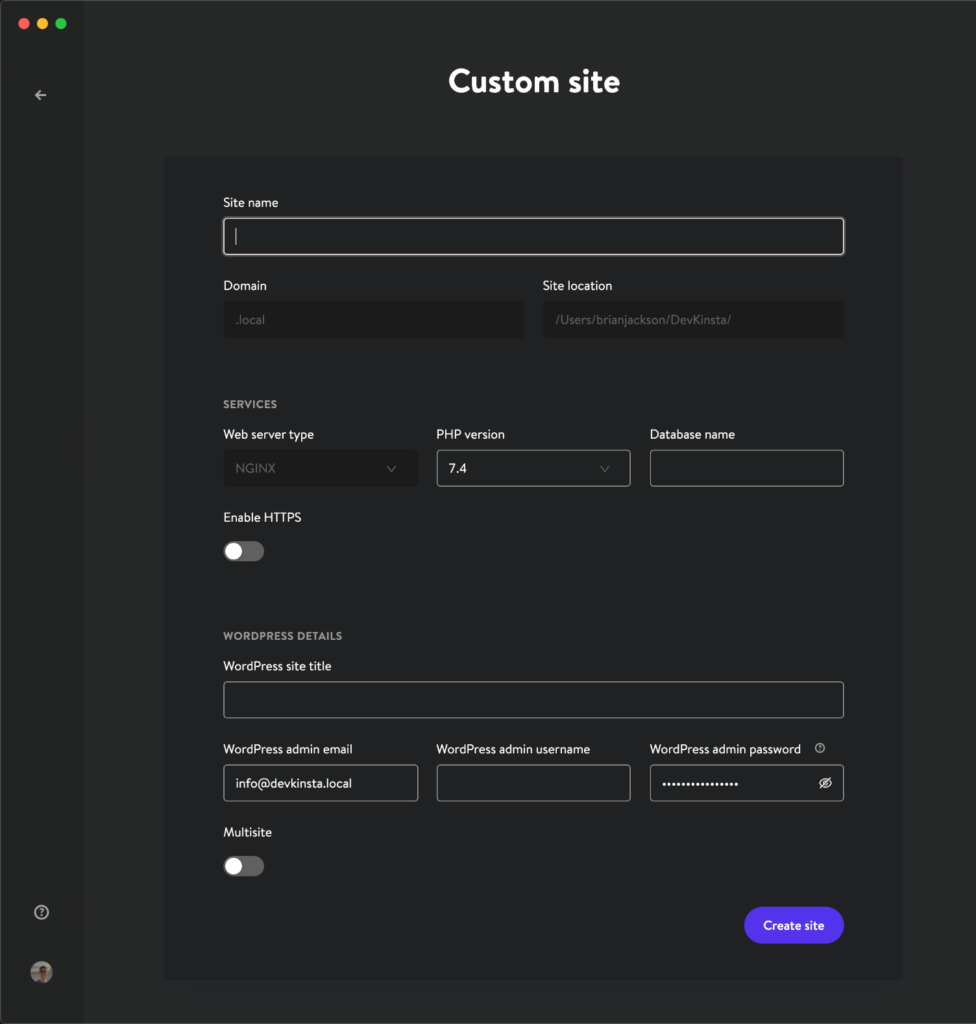
Fill out the custom parameters and click “Create Site:”
- Site name
- PHP version
- Database name
- HTTPS
- WordPress site title
- WordPress admin email
- WordPress admin username
- WordPress admin password
- Multisite
And that’s it!
DevKinsta screens and settings
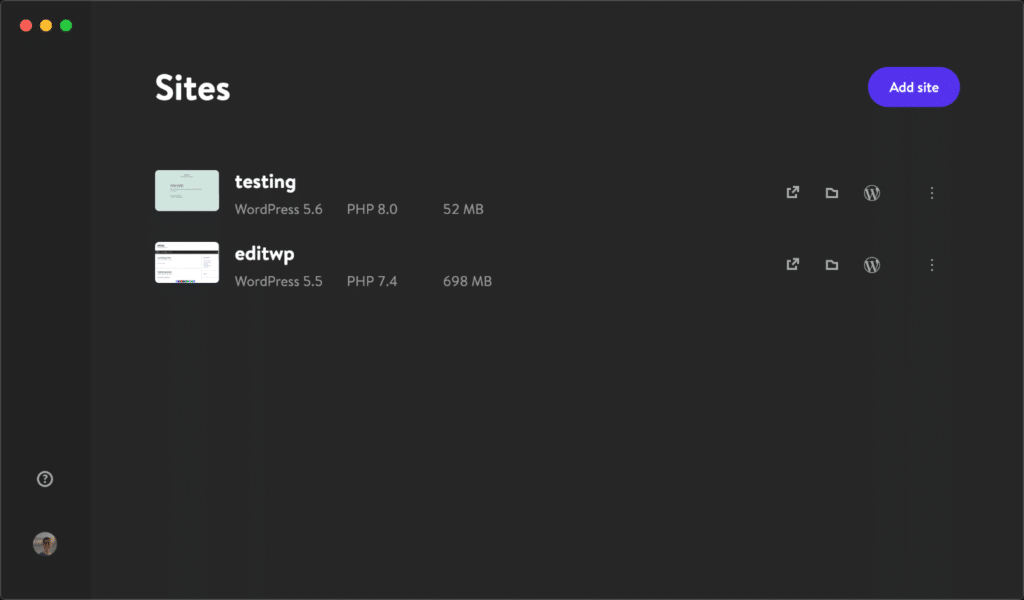
All your local WordPress sites can be quickly accessed at any time from the DevKinsta Sites screen. It’s a beautiful UI.
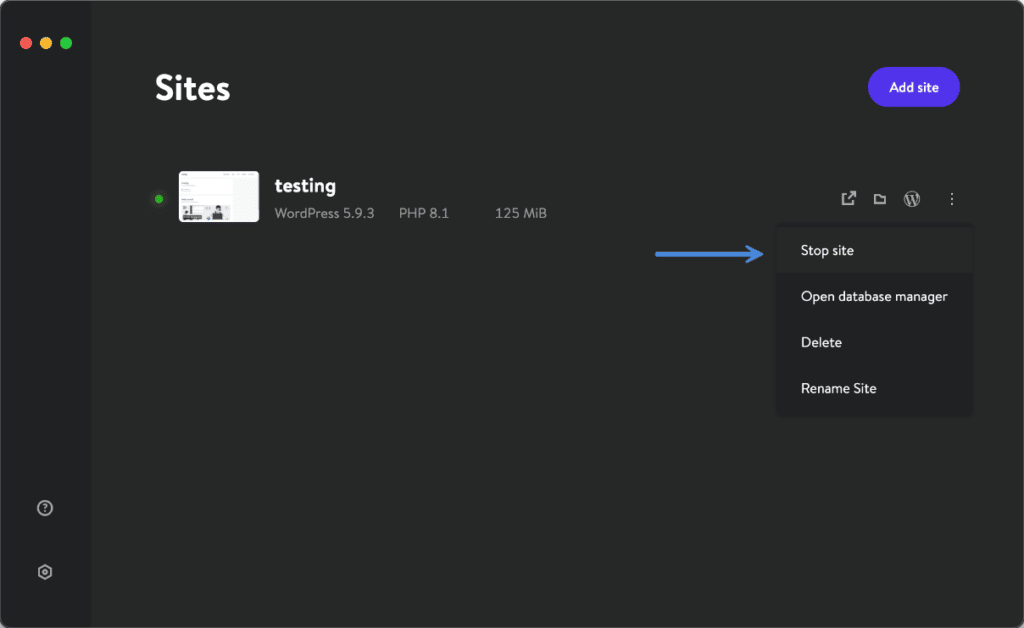
You can stop and start a site at any time.
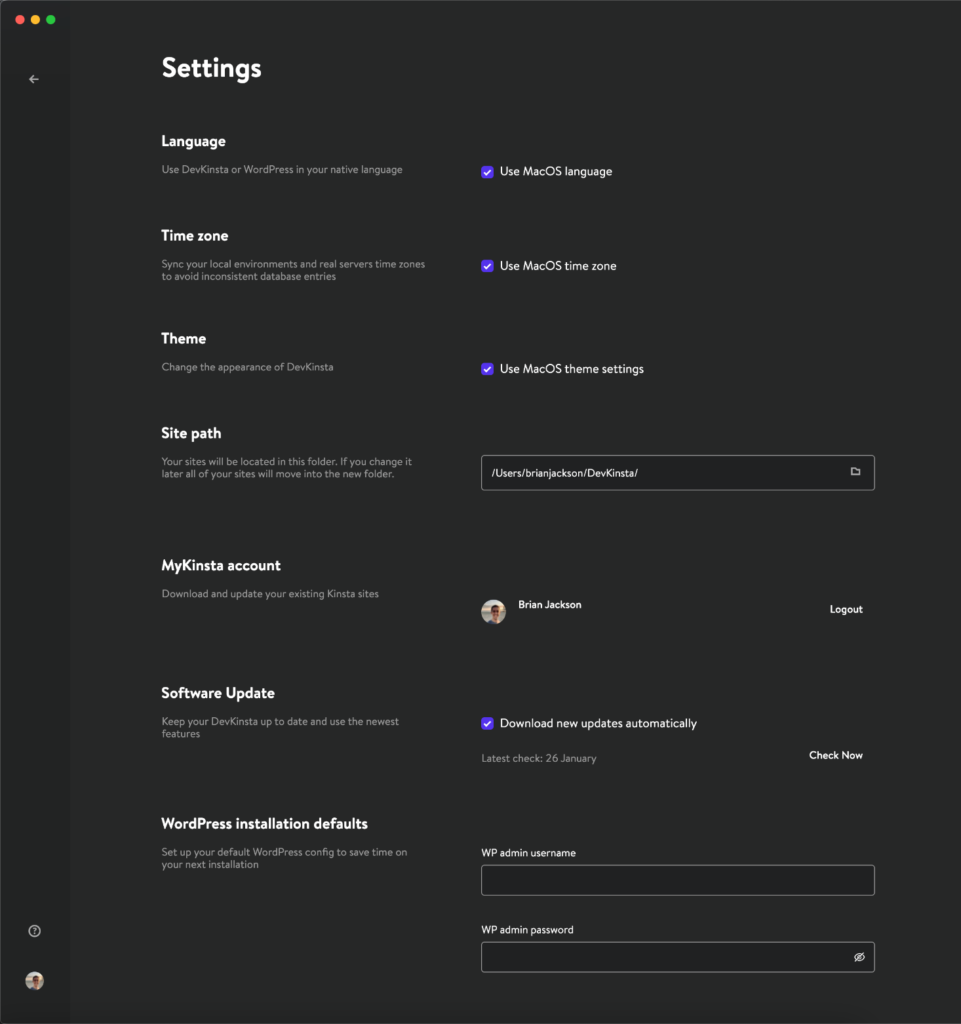
Under the “Settings” screen you’ll find the following:
- Language
- Time zone
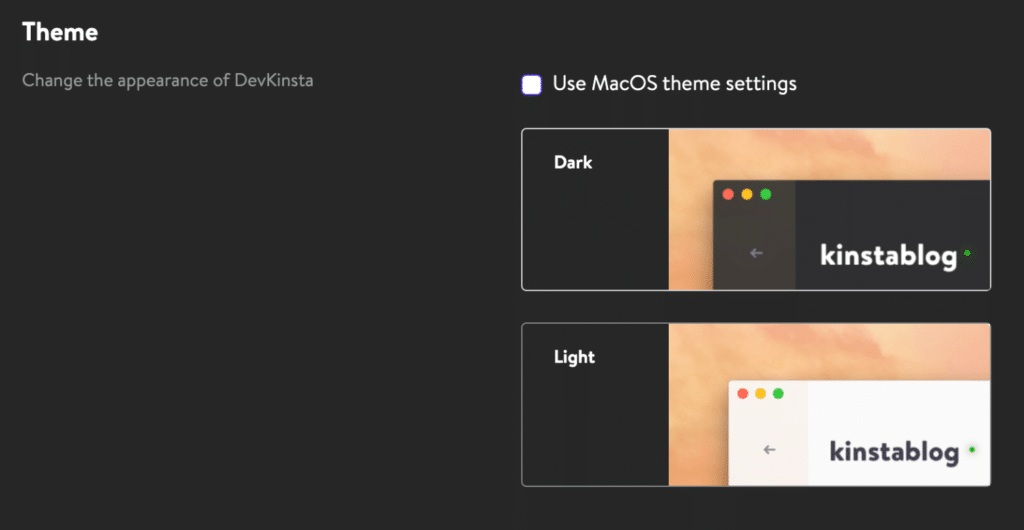
- Theme: If dark mode isn’t your thing, there’s also a light mode.
- Site path
- MyKinsta account
- Software update
- WordPress installation defaults: Save time by setting the default WP admin username and password used on future installations.
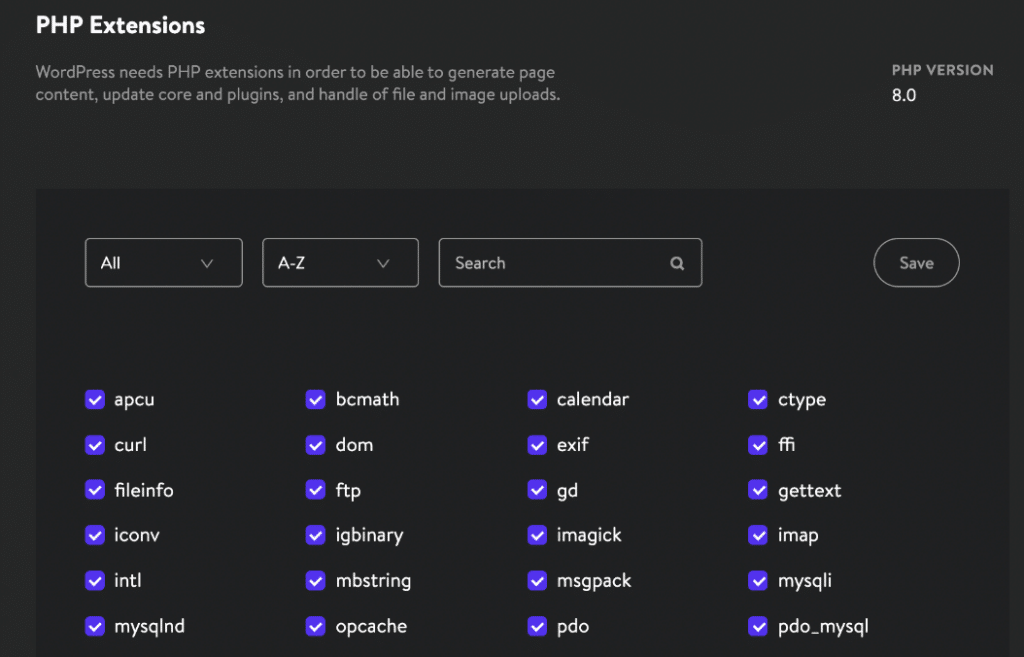
You can also enable or disable popular PHP extensions such as opcache, imagick, curl, etc.
And finally, you can choose which ports the DevKinsta Nginx container should run on. By default, it will auto-detect the open ports. But you can change them if they are already in use by another application.

Summary
I’m very excited about the future of DevKinsta. I’ve already made it a part of my regular workflow and use it every day. Also, being a Kinsta user, this has some huge advantages for speeding up my testing and development.
It would also be nice to see a few more MyKinsta options added over time that we’re all used to: one-click WooCommerce install, cloning, and search and replace.
You can head to the DevKinsta Community if you have problems or want to submit a feature request.
What do you think? Have you tried using DevKinsta yet?
It doesn’t work, it says “updating docker images” and is stuck there.
Hey Hope,
I would post on their community forum if you are having problems. Kinsta’s support is always very helpful, and they are quick to respond. I’ve installed it on two Macs without any issues. If you’re on an M1 Mac, make sure to download the Docker technical preview until Docker supports Apple Silicon natively.
FWIW, I hit the same roadblock … I had already installed Docker and started setting up my own WP containers before discovering DevKinsta. A full reboot of my machine resolved it. Works nicely now.
Does it really work?
Hey Niamul,
It works great, I use DevKinsta every day. I have multiple test environments set up. It’s a great way to test plugins and go crazy without worrying about cleaning up what’s left behind. I actually do all my testing now locally instead of on staging sites because it’s faster on my machine.
Does it support PHP development also? Or it is only for WordPress?
Hey Sanjay,
Right now it only supports WordPress sites.